The Ultimate Guide to Limb Occlusion Pressure (LOP) for Blood Flow Restriction Training
Understanding limb occlusion pressure (LOP) is a prerequisite to fully understanding the physiology of blood flow restriction.
In this article, we’ll discuss:
- What LOP is
- Why it’s important
- What factors determine your unique LOP
- How to measure LOP
Limb occlusion pressure is the minimum pressure required to fully occlude (restrict) arterial blood flow.
Arteries carry blood from the heart to the limbs, so if an artery is fully occluded, this means 100% of blood flowing into the occluded limb is blocked.
Pressure applied to tissues of the body (in the case of BFR, your limbs) is measured in mmHg. The bigger the number, the higher the pressure.
Let’s use round numbers and say 100 mmHg is your measured limb occlusion pressure on your left arm.
Why is it important to know that number?
Blood flow restriction involves occluding a certain percentage of arterial flow, generally in the range of 30-80% during some form of physical activity.
In order to know what pressure is required to restrict 30, 50, or any percentage of arterial flow, we need to know what pressure is required to restrict 100%.
From there, we can work backwards to get to the desired percentage.
Using 100 mmHg as an example of full occlusion, we know that if we inflate the cuff to 50 mmHg, that would be (you guessed it) 50% occlusion!
Limb Occlusion Pressure for Surgery
Limb occlusion pressure has been an important concept since long before BFR training entered the picture.
Can you picture another scenario where it might be important to know how much pressure is required to occlude an artery?
How about during surgery? We’re all familiar with a surgeon placing a tourniquet around the arm or leg during a procedure if it’s required to temporarily stop blood flow or create what’s called a “bloodless field”.
In the early days, surgeons would apply an arbitrarily high amount of pressure to the limb via a tourniquet to avoid the risk of any arterial flow passing through.
Some would apply around 300 mmHg to the arm and up to or above 500 mmHg to the leg, regardless of the patient.
Another recommendation was 2 x systolic blood pressure, but each of these generally led to excessively high pressures.
This is problematic as high pressures risk damage to the skin, vessels, muscles, and nerves, and can even cause compartment syndrome.
This is discussed in a 2019 paper by Kasem et al, where the authors note that though most lesions are transient, 1 in every 4,000-6,000 cause permanent neurological damage.
Because of this, new methods of estimating arterial occlusion for tourniquet-required surgeries emerged. We can use the insights from these methods to garner a deeper understanding of occlusion for blood flow restriction training.
Let’s briefly touch on one of the methods.
By the end of this article, you’ll know more about LOP than most!
Mathematical Method for Estimating Limb Occlusion Pressure (LOP)
Tuncali et al’s 2006 paper demonstrated an effective mathematical method to determine LOP, which is [systolic blood pressure + 10 mmHg] / tissue padding coefficient.
Let’s break that down.
As a recap for those unfamiliar, systolic blood pressure is the first number you see on your blood pressure reading. (E.g. if your blood pressure is 120/80, systolic is 120).
This is the pressure in your arteries when the heart is contracting, forcing more blood through the artery and consequently increasing pressure at that time.
For a patient with 120/80 blood pressure, AOP would be 120 (SBP) + a safety addition of 10 mmHg divided by the tissue padding coefficient.
We’ll explain “tissue padding coefficient” simply.
The interesting thing they did in this study was observe the actual pressure applied to tissues from the tourniquet.
In other words, the delta between tourniquet inflation pressure and tissue pressure under the tourniquet.
The more tissue padding, the less actual pressure reaches the tissue.
By tissue padding, we just mean the size and composition of the limb. The bigger the circumference of the limb (the more muscle, fat, etc.) the more padding there is to blunt the pressure from the tourniquet.
Generally, larger limbs need more pressure to reach occlusion than smaller limbs.
Back to the math formula:
The authors used a formula to arrive at a unique tissue padding coefficient for each limb size, from 20 - 75 cm, or about 8 inches to 30 inches.

This figure shows the tissue padding co efficient for each limb size (from 20 - 75 cm).
That tissue padding portion of the formula is beyond the scope of this article, but as an example, the coefficient for a limb of 30 cm is 0.82.
Estimated AOP according to Tuncali’s formula would be [systolic blood pressure + 10 mmHg] divided by 0.82.
Assuming systolic blood pressure was 100 mmHg, AOP would be:
[100 mmHg + 10 mmHg]/0.82 = 134 mmHg
Remember how we said earlier that the authors observed the delta between tourniquet inflation pressure and actual tissue pressure under the tourniquet
They did this by utilizing an intra-compartmental pressure monitor, which do what they sound like: measure pressure within compartments in the body.
This is done by sticking a needle into the muscle under the area where the tourniquet is applied - the device can then detect and display a pressure signal.
Obviously all these subjects were under anesthetics during this study!
What the researchers observed is that the tourniquet inflation pressures were much different than the pressures detected by the intra-compartmental pressure monitor.
The difference in pressure was smaller in smaller limbs, but increased as limb size increased.
This is how they were able to determine that larger limbs generally require greater pressures to reach occlusion.
For example, they applied 300 mmHg to a 45 cm limb and only measured ~ 230 mmHg pressure on the tissues.
That same 300 mmHg inflation on a 70 cm limb only put 194 mmHg of pressure on the tissue - about a 35 mmHg difference in pressure on the actual tissues of two different limbs, despite the fact that the tourniquet was inflated to the same pressure on each one.
Tuncali’s mathematical method demonstrated to be successful in estimating limb occlusion in this paper - it was replicated again (successfully) in a 2019 in a study by Kasem et al with 40 patients.
Alright, we have some historical context now. We have some baseline figures to operate off of.
We can see the evolution of pressure recommendations, from arbitrarily high pressures to mathematical methods like the one we just discussed, which takes into account both blood pressure and tissue padding coefficient, or limb circumference.
Shifting back to blood flow restriction training specifically - why does all this matter? Why can’t we just inflate and train?
Arterial Occlusion Pressure (AOP) and BFR Training: Implications
We hit on this a bit ago, but if the pressure is too high, you can risk damage to tissues or nerves.
This is partialy why it wouldn’t be wise to just wrap any tourniquet around your arm and train without understanding how much pressure is being applied.
This is particularly problematic with cheaper cuffs found on Amazon and elsewhere as they are incredibly narrow.
As we’ll discuss shortly, cuff width plays a major role in determining limb occlusion pressure.
Spoiler alert - narrower cuffs require much greater pressures to reach occlusion.
So we’ve got nerve damage down as a reason to know and understand LOP - but there’s more.
The second reason is that it allows you to optimize your training and avoid intensities that are too low or too high.
Here’s an example.
JP Loenneke notes in a 2011 paper that one of the criticisms of BFR is the high rate of perceived exertion based on Wernbom’s 2006 and 2009 papers.
However, this study utilized an exceptionally wide cuff and with the pressures applied, it’s likely that the subjects were training under complete arterial occlusion.
Training with limited arterial flow can be difficult - training under completely ischemic conditions is next level!
Now you might say “Too high of pressure is bad, I’ll just play it safe and apply an arbitrarily low pressure each time.”
You can avoid a possible lesion and deleterious impacts on performance with that strategy, but how are you supposed to track and periodize that?
Without understanding your limb occlusion pressure, how can you track what percentage you were training at?
For example, let’s say you perform 5 x 90 second intervals on the assault bike while maintaining 400 watts, all under BFR.
If you wanted to repeat that session to see performance improvements / regressions, how would you apply a consistent stimulus without being able to repeat the same occlusion percentage?
Distance athletes track pace for miles, heart rate, and other metrics.
Strength athletes track weight, reps, sets, reps in reserve, etc.
We should approach BFR training with the same specificity! Tracking occlusion percentages not only allows you to optimize your training, but creates a repeatable environment for monitoring progress.
Factors that determine LOP
Now that we know what LOP is, we have some historical context and some of its implications, what actually determines your unique LOP?
Here’s what we’ve gathered as contributors so far:
- Blood pressure - simply put, higher blood pressure means the arteries are harder to compress or occlude.
- Limb circumference - larger limbs generally require more pressure to occlude due to the tissue padding effect.
Next on the list is cuff width - this has been extensively studied at this point.
It might seem counterintuitive, but wider cuffs require less pressure than narrow cuffs to reach limb occlusion.
There are a few intellectual models as to why this is exactly.
The most likely is that “wider cuffs eliminate blood flow without total collapse of the arteries possibly due to an accumulation of frictional resistance to fluid flow along the compressed length.” (Crenshaw, 1988)
Regardless of the mechanism, we can be very confident in this assertion as it’s now been replicated many times:
- Crenshaw et al (1988) - Wide tourniquet cuffs more effective at lower inflation pressures
- Tuncali et al (2006) A new method for estimating arterial occlusion pressure in optimizing pneumatic tourniquet inflation pressure
-
JP Loenneke looked at this specifically for the context of BFR in his 2012 paper Effects of cuff width on arterial occlusion: implications for blood flow restricted exercise
- “For every subject except one, we observed that the wider cuffs cut off arterial flow at a lower pressure compared to the narrow cuffs, which supports earlier work by Crenshaw et al. (1988).”
Blood pressure, limb circumference, and cuff width represent the lion’s share of what determines LOP.
There are other smaller factors like limb shape and composition, but the effects of those are not fully understood at this point. They’re likely insignificant contributors as well.
The only remaining factor that carries some weight is body position.
A 2022 paper by Karanasios demonstrated that in upper limbs, differing pressures were required to reach occlusion in seated, supine, and standing positions.
- Seated (most pressure required)
- Supine (2nd most pressure required)
- Standing (least pressure required)
With regard to lower limbs, a 2018 paper by Sieljacks demonstrated a similar effect, where arterial occlusion pressure was much higher in seated versus supine position.
Note that this effect was much stronger with narrow cuffs.
To tie this up, just be sure you’re consistent with how you measure AOP/LOP from session to session.
An argument can be made that you should determine occlusion pressure in the position you’ll be training in, so standing likely is the most logical option in most cases.
And there you have it.
We have blood pressure, limb circumference, cuff width, and body position during measurement as the largest contributors to LOP.
Lastly, let’s dive into how you can use all this information in practice.
How to Measure LOP
There are two common options for measuring limb occlusion pressure:
- Doppler ultrasound
- Specialized blood flow restriction cuffs
Regarding the Doppler, this is effectively an ultrasound device that can check for a pulse at a location distal to the inflated cuff (generally placed at the wrist for upper extremity testing and the ankle for lower extremity).
There are plenty of YouTube tutorials on this so we’re not going to dive too deep, but the general premise is that you’d inflate the cuff slowly until you no longer detect a pulse on the occluded limb.
If the first pressure pulse stops is at 140 mmHg, you can use that for your LOP in that session on that limb.
From there, you can work backwards to determine your ideal training percentage.
If you’d like to train at 50% occlusion, just cut 140 mmHg in half (70 mmHg).
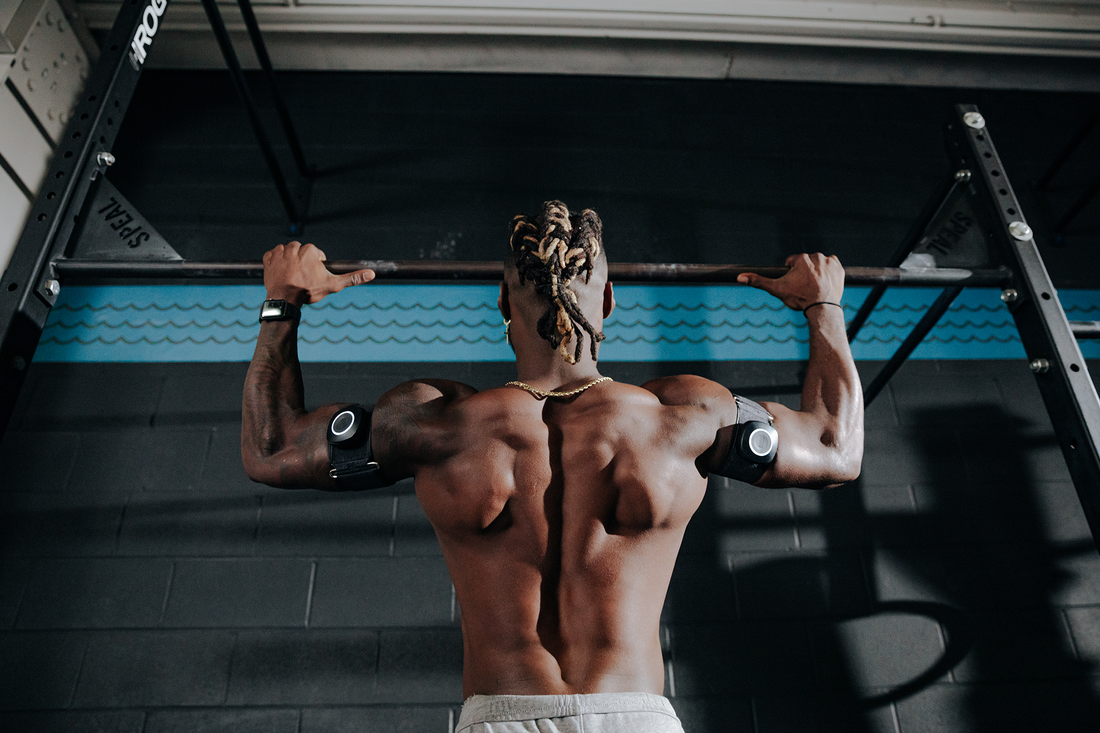
Option number two is to make use of a specialized cuff.
The big name and the first to the scene is a product called Delfi - widely recognized as the gold standard.
We launched SAGA several years later because we saw a large gap in the market - though the Delfi unit is a great product, the barrier to entry is high due to cost and the fact that it requires training to utilize.
Additionally, it does have some limitations as far as field-based solutions go as it is not wireless.
To fill the gap in the market, we created the world’s first wireless, auto-calibrating blood flow restriction cuffs.
They operate via a mobile app and intelligently calibrate to find your unique LOP with a single tap. You can find out more about them here.
For now, we hope you enjoyed this detailed breakdown of limb occlusion pressure and its implications in the world of BFR.